docs
Netpump Service Marketplace Offer Configuration Guide
This guide will show you how to setup the Netpump Server through Azure’s marketplace offering
Prerequisites
The user of this guide should have basic or moderate knowledge of how to use Azure Portal, and Microsoft Entra ID.
- A valid deployment environment
ℹ️ Note: The service is intended to be used in an existing network with valid SMB share setup and network routing.
- A domain name and DNS entries for each server you will create.
ℹ️ Note: Managing DNS is outside the scope of this documentation.
- An Azure Key Vault with a provisioned SSL Certificate of the custom domain you wish to host the Netpump Server Application on.
ℹ️ Note: Acquiring a certificate is outside the scope of this documentation. Azure Key Vault provides ways to acquire certificates from third party certification authorities, or import your own.
- You can follow this quickstart from Microsoft to set up a new Key Vault in Azure if you don’t have one configured already.
- The Netpump server cluster Enterprise Application
- Follow this guide to provision the enterprise application.
- Netpump Desktop application
- You can download and install the Netpump Desktop application here
Provisioning Netpump server
- Go to Azure Portal https://portal.azure.com and login
-
Create a new resource
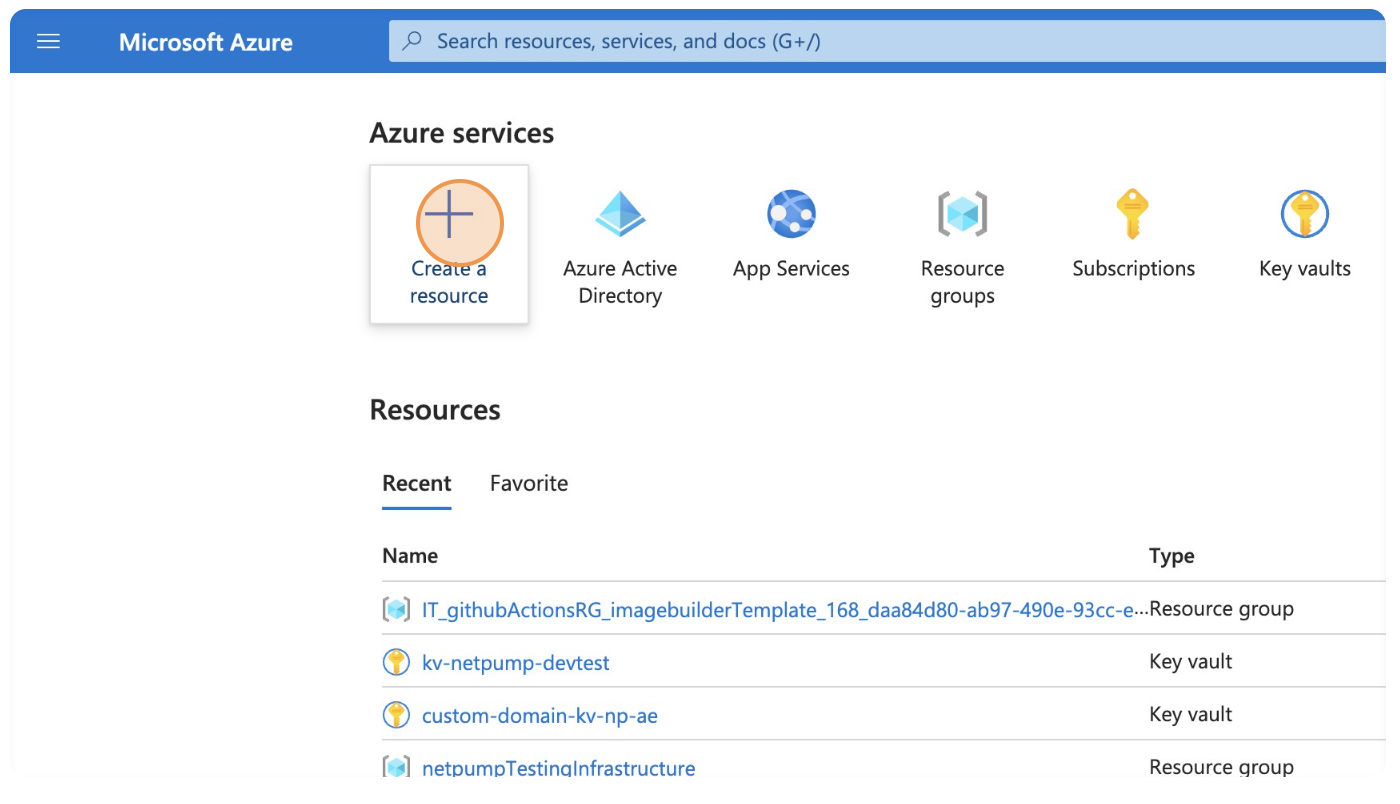
-
Search for
Netpump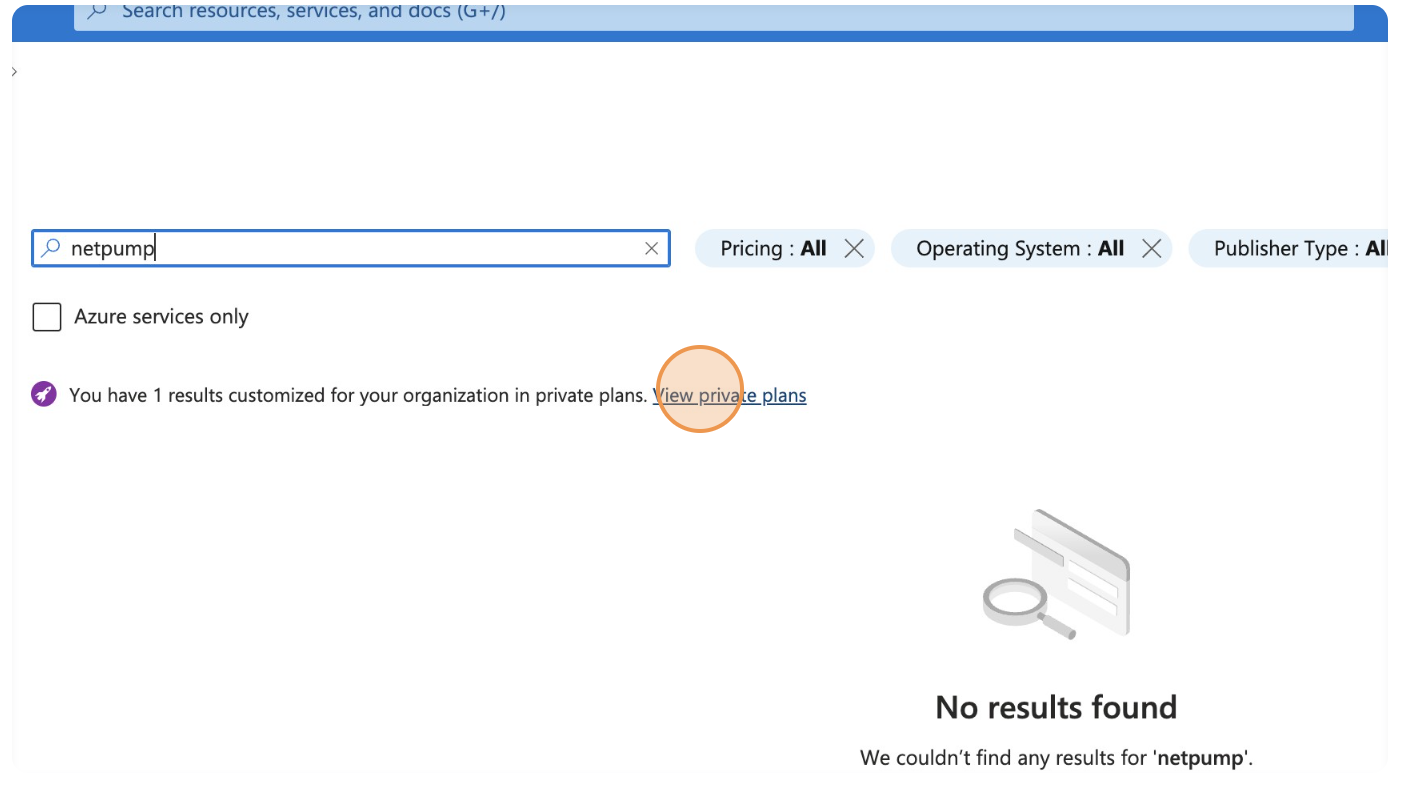
ℹ️ Note: If the Netpump subscription has been shared with you as a private plan, you will need to click
View private plansto see the plan.
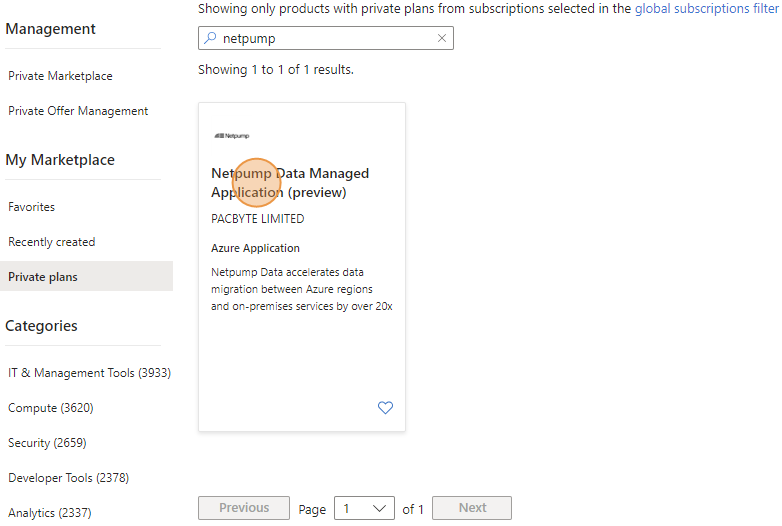
-
Select the Netpump offer
-
Click
Create
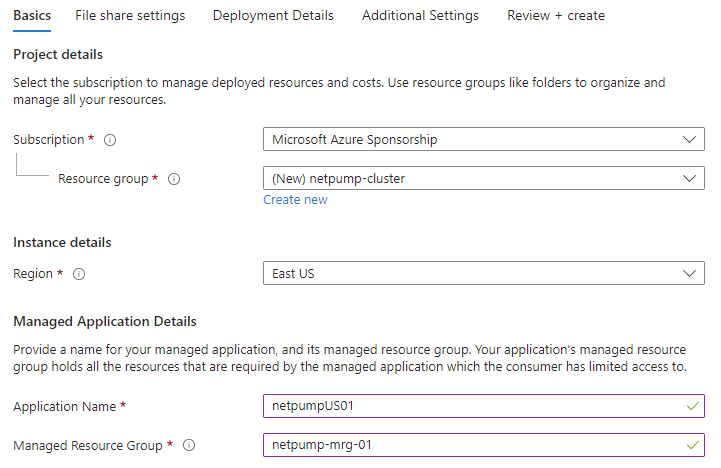
-
Select your desired subscription, resource group, region and managed application details then click Next.
-
Enter your file share settings then click Next.
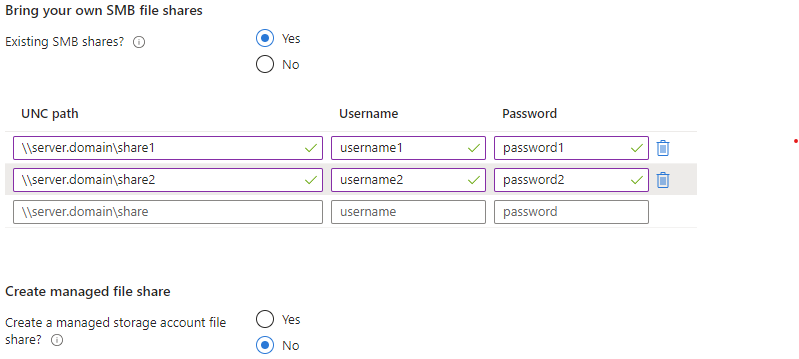
-
On the
Deployment Detailstab, setup the network settings for the Netpump server as required for your company network then click Next.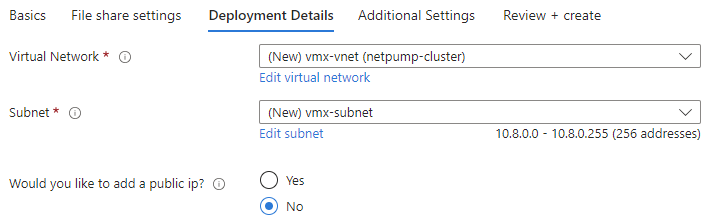
-
On the
Additional Settingstab, fill out the Authentication settings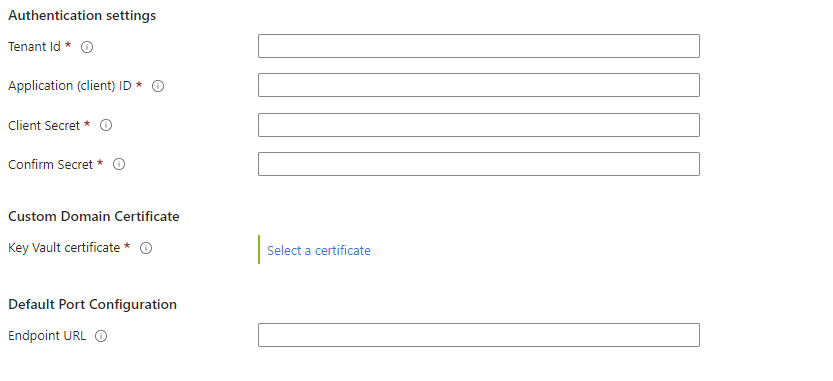
Use the information (including client secret) from the
App Registrationof the Netpump server created in prerequisite step4.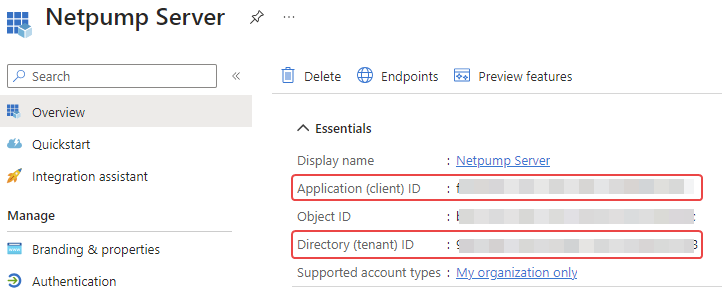

-
Select the desired certificate for the custom domain from your Key Vault (prerequisite step
3) -
Enter a custom Endpoint URL the application will run under. The port must be a valid https protocol port number. Leave blank to use the default https://*.443 port number.
-
Click
Review & create
After the deployments complete you can edit the NIC (Network Interface Configuration) of the Netpump Server to enable:
- The Netpump Desktop application to be able to connect to the Netpump destination server
- The Netpump destination server and the Netpump origin server to be able to connect to each other
-
Repeat the above process for each server in your Netpump cluster. At a minimum you will need to provision two servers to enable accelerated file transfers between them.
-
Create a DNS entry for the newly created server in your DNS system and link it to the public IP associated with the NIC details. The domain name you choose must match the SSL certificate configured in your Key Vault.
Once that is done, you should be able to connect to the Netpump server using the Netpump Desktop application.