docs
On Premise Netpump Services Installation Guide
This guide shows how to install the Netpump Service locally.
Prerequisites
Download the current version of the Netpump Service Installer.
Installing the Application
-
Open the downloaded installer file on your local machine.
-
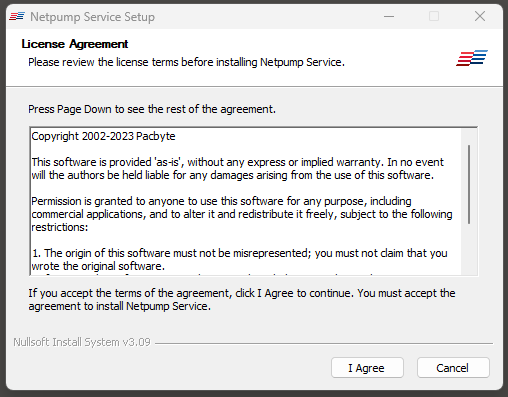
Confirm the displayed End User License Agreement. This can also be viewed online at Netpump EULA.
-
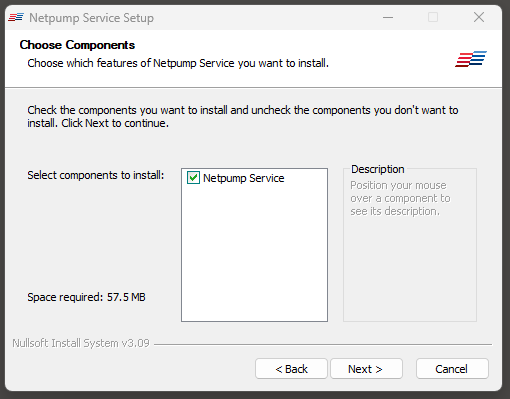
Select components to install.
-
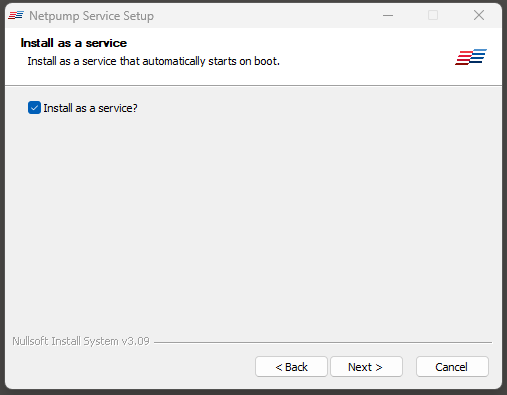
Select to Install as a service.
Select this option to have Netpump Service created as a Windows Service that starts automatically with machine boot.
-
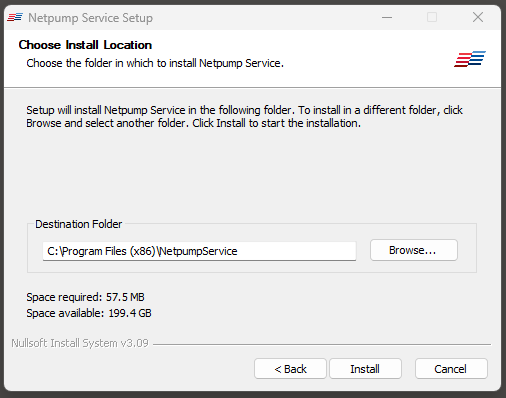
Select the installation directory.
-
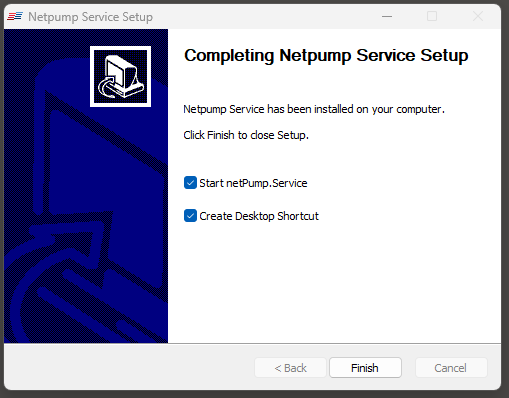
Installation is now complete.
You may choose to start the service at this time and/or create a Desktop Shortcut.
Starting the Application
If created as a service the Netpump Service will start automatically on machine boot. To start/stop manually load Service and search for NetpumpService.

If not created as a service the Netpump Service can be started by clicking the Desktop Shortcut or executable ‘netPump.Service.exe’ file in the install directory.
Accessing the Netpump Service Administrator Page
Once the service has started, double click the created Desktop Short or executable file ‘netPump.Service,exe’ in the install directory. This will activate the Netpump Service Administrator Page. See Netpump Service Administrator Page for more details.